
How to: Multi-colored backdrop
Posted: July 15, 2012 Filed under: challenge, D.I.Y, Decor, Uncategorized 16 CommentsWe are SUPER stoked ( screaming on the inside)to be participating in this year’s Pinterest challenge, hosted by: Sherry, Kate, Michelle and Katie!!

We pinned several ideas of what we had in mind, but we wanted to put our own spin on. And especially diving in with a budget friendly approach.

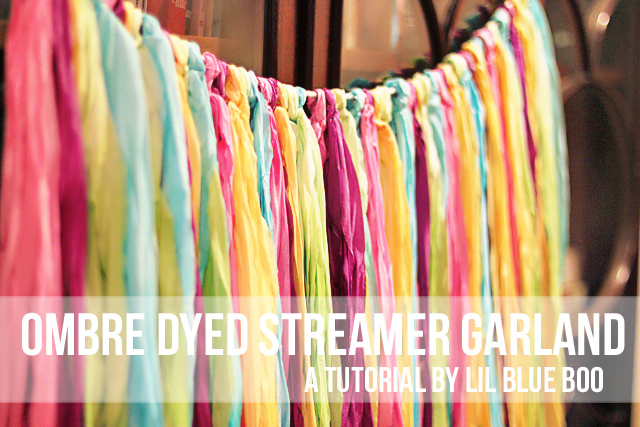
source (clockwise): image 1,4 via littebitfuny, image 2 via google, image 3 via lilblueboo
Here’s the idea we “re-created” with an array of fabulous colors! You can totally use this idea as decor or as a wedding backdrop, photobooth…heck it could even be a curtain for a kid’s room! Follow these simple instructions and we’ll show you how to get one of these bad boys.
Materials + price list:
Paint chip color samples (any color you like)
Construction paper/card stock (had some at home)
Hot glue gun (still using the same old one 🙂 )
Glue stick – $4.50 (bought 4 packs at local supply store)
Hole puncher 1.5″ (had it for a LONG time)
Yarn (using from previous lantern project!)
Total cost: $4.50 <- AWESOME!!!!
Instructions:

1. After you have gathered all your paint chip colors and pretty card stocks, you can either use a regular pair of sicssors or use a 1.5″ circle hole puncher to cut out as many as you like. For this situation, we had to punch about 100-150+ circles!(YES, it did take some time to punch holes but hey the end result is phenomenal.No pain, no gain!)

2. Cut out different lengths of yarn. We cut pieces ranging from 7′ (longest) to 5′ (shortest).
3. After cutting your yarn, you can now begin the gluing process. Remember to glue the circles on both sides in order to have a perfect rainbow curtain/backdrop.
Drum roll please……
![]()
![]()
adorable or WHAT?!
To pack them away, we simply folded them one by one and put them into a zip lock baggie like this.

So, what do you guys think?!

Great job!!! these look amazing!
Thanks Sundeep! Glad you liked it 🙂 big fan of yours! Hope you’ll get that chair in Vancouver….that’ll look pretty awesome in your house!
Oh wow! That looks so neat. I can just imagine some gorgeous photos taken in front of this backdrop
Thanks @Tanya! Wouldn’t this look SO cute for a kid’s birthday party or even use individual strands for a sweets/candy table…. 🙂
I love them! Now I’m eyeing all the paint chip booklets I have wondering if it’s worth cutting them up… we mostly pick our paint right in the store anyway. That might have something to do with why we’re SO BAD at picking paint colours.
What a fantastic idea. I love how bright the colors- so summery!
Thanks @Shauna! Glad you liked it 🙂
Fun project! Now all you need is a party 😉
i agree!
Ohmy, this turned out awesome!! I always feel weird when I leave the store with a million paint chips, haha!
we know what you mean! we used quite a number of card stocks as well so it was all good! Glad you like it !
Ohmy, this turned out awesome! I always feel weird leaving the store with a million paint chips, haha!
Those are adorable. They would look amazing at a wedding or behind the food table at a shower.
Indeed, just what I was thinking. my gf wants to use them for a kids party. For a Candy Table.
Love this!!! It would be so much fun at a party. Great work 🙂
[…] from that, we were super Stoked to be participating in this year’s Pinterest challenge graciously hosted by Sherry, Katie, Kate and Michelle. We challenged ourselves to make a fun […]